Hang a canvas print without drilling into the wall
Instead of drilling every time you change your decor, use adhesive fasteners designed for frames, provided that the wall, weight, and back of the canvas are compatible. To hang a printed canvas without drilling into the wall in 2026, start by checking these three elements: a removable fastener never guarantees intact paint.
- Hanging a canvas without drilling into the wall: choose a frame fastener compatible with the total weight and surface.
- Décor Imprimé offers printed canvases; check their presentation and back before choosing the fasteners.
- Adhesive tabs require a compatible surface; they are not automatically suitable for wallpaper.
- Follow the manufacturer's instructions for preparing, loading, and removing the fasteners.
Why the support matters more than the adhesive
A no-drill fastener only holds as well as the surface it adheres to. If the paint peels off the wall, a securely glued tab will take the paint with it. Adding more adhesive does not fix this problem.
Décor Imprimé's printed canvases allow you to personalize your decor, but the word "canvas" does not describe the hanging system on its own. An image intended for a frame, a canvas stretched on a frame, and a framed artwork all have different backs.
Décor Imprimé is suitable for individuals looking for a printed canvas to personalize their home or condo. To install it without drilling, choose the fastener based on the actual item received, not its front-facing photo.
Before you start
- Examine the entire artwork. Identify the frame, the stretcher frame, existing fasteners, and available rigid surfaces on the back. Weigh the entire piece with its frame and accessories.
- Prepare the materials. Have a suitable scale, measuring tape, level, pencil, and fasteners whose instructions authorize your surface and frame type. Use only the prescribed cleaner.
- Check the removal trap. The pull tab must remain accessible after installation. A tab hidden behind a too-deep edge can become impossible to remove using the intended method.
If you are a tenant, also check the terms of your lease. The absence of a hole does not rule out damage to the finish.
Choosing the fastener
For your 2026 project, compare the methods based on the back of the canvas and the condition of the wall. Frame tabs are only the first choice when their instructions confirm compatibility for the entire setup.
| Method | Ideal for | Advantage | Limitation to check |
|---|---|---|---|
| Adhesive tabs for frames | Rigid frame with compatible support surfaces | Fastener hidden behind the artwork | Requires a compatible wall surface and back |
| Adhesive hook for pictures | Artwork with a fastener suitable for the hook | Uses the existing fastener | Frame depth and fastener position matter |
| Existing support | Home with a usable rail or hanging point | Avoids new adhesive on the paint | Support capacity and condition must be checked |
| Canvas placed on furniture | Artwork without a compatible adhesive fastener | No wall adhesion required | Requires a stable location away from traffic |
Do not replace a picture fastener with generic double-sided tape. Its adhesion does not prove its capacity to support a frame or the possibility of removing it cleanly.
Checking the wall and frame
Confirm compatibility before gluing
- Identify the finish. Distinguish a smooth painted wall from wallpaper, textured plaster, or masonry. Look for this specific support in the fastener instructions.
- Inspect the paint. Stop if it is peeling, chalky to the touch, or already coming off. Recent paint must have reached the curing time required by the relevant manufacturers.
- Examine the back. Look for a rigid and sufficiently flat area to receive the fastener. Do not glue directly onto printed fabric, staples, or a paper dust cover.
- Weigh the entire piece. Compare the total weight to the capacity indicated for the exact configuration: fastener type, number of pieces, and authorized dimensions.
Expected result: you can state the wall support, the support surface on the back, and the authorized configuration. If any of these elements remain unknown, do not proceed with gluing.
A lightweight canvas is not automatically compatible. A frame whose back offers no suitable support area remains a poor candidate, even when its weight meets the stated limit.
Prepare the surface according to the instructions
- Clear the area. Move fragile objects away and provide a protected surface to place the artwork.
- Clean as directed. Use the product recommended for the fastener and compatible with the finish. Do not add a degreaser or scented cleaner of your choice.
- Let dry. A surface that is still damp is not ready to receive the adhesive.
- Check the ambient conditions. Respect the indicated usage ranges, especially in a damp room or one subject to temperature fluctuations.
Expected result: the adhesion areas are clean, dry, and meet the manufacturer's requirements. You have not covered up a paint defect with a fastener.
Positioning the canvas
Mark the location without multiple attempts
- Choose the main viewing point. Look at the wall from the sofa, desk, or room entrance, depending on the actual use of the space.
- Measure the artwork and the available space. Note the width and height in the same unit, in centimeters or inches. Include the frame.
- Locate the top of the artwork. Make discreet pencil marks only if the finish allows it. Avoid masking tape on fragile paint.
- Check the clearance. Ensure that a door, curtain, or piece of furniture will not hit the canvas. Also maintain the necessary access for removing the tabs.
Expected result: the position is decided before exposing the adhesive. You can present the artwork in this location without improvising a move after gluing.
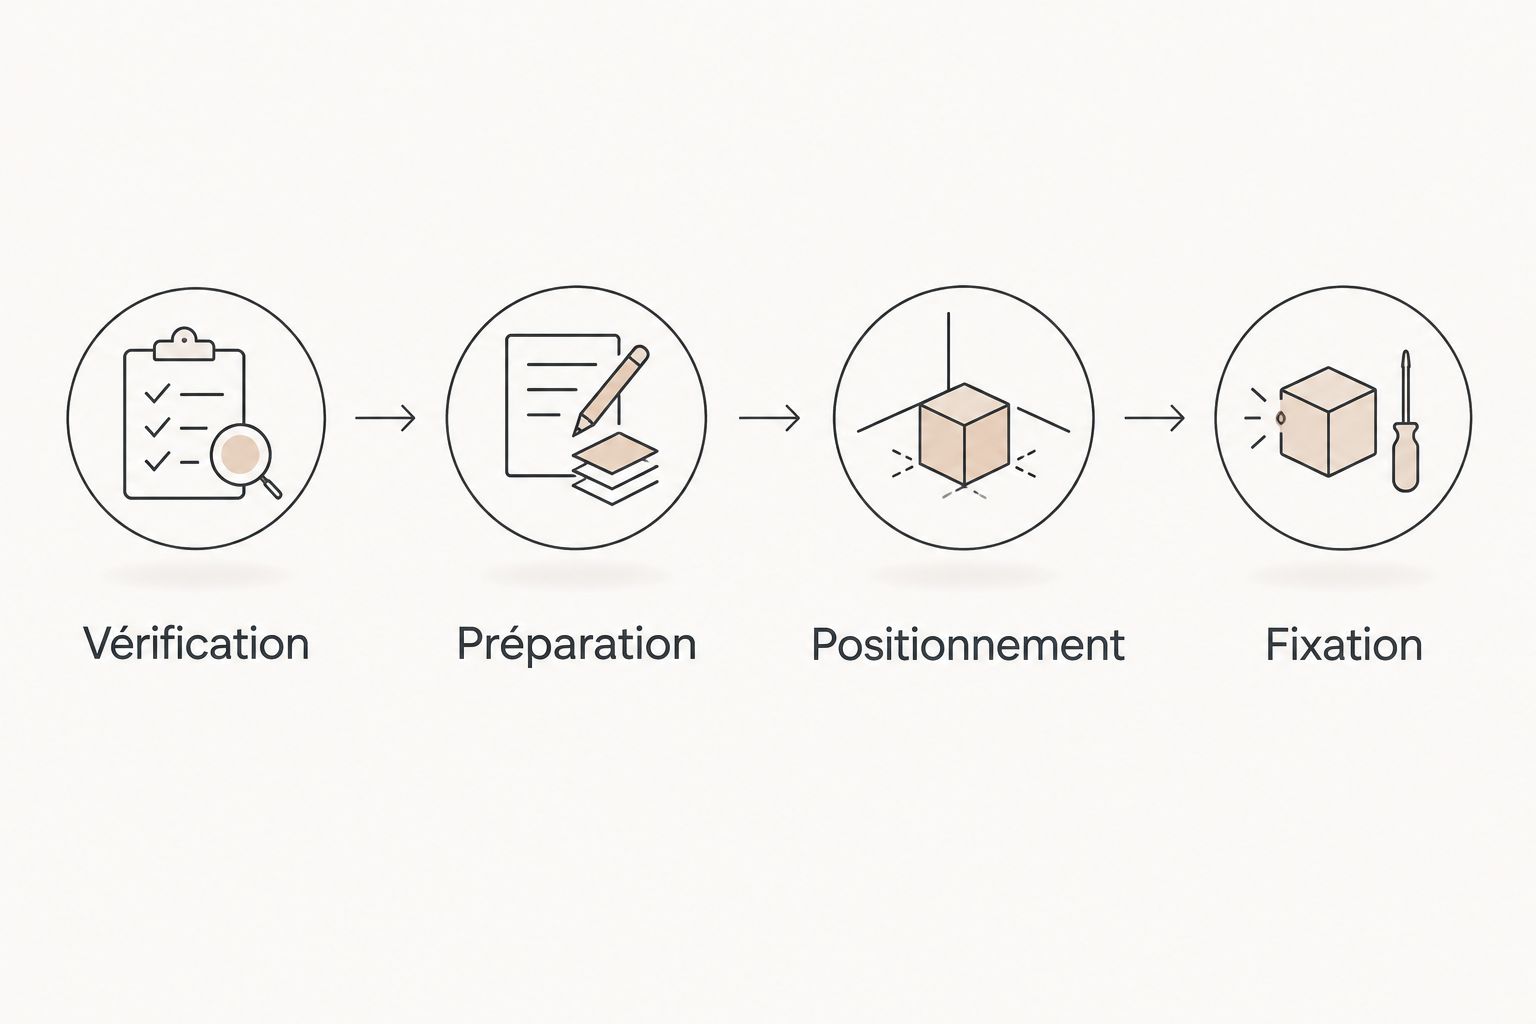
The 2026 installation process remains simple: verification, preparation, positioning, fastening. Moving from one step to the next depends on the compatibility of the support, not on a universal time frame.
Fastening and loading
Install the fasteners in the prescribed order
- Read the entire sequence. Some fasteners require application to the frame, pressure against the wall, and then temporary removal of the artwork. Others follow a different procedure.
- Place the fasteners in the authorized locations. Avoid bumps, staples, and too-narrow areas. Keep the removal parts accessible.
- Apply the prescribed pressure. Press on the rigid areas intended for this purpose, never in the center of the stretched fabric.
- Respect the time before hanging. Do not shorten the wait time because the fastener already seems to hold.
- Install and then check the artwork. Check the level and the engagement of the fasteners without pulling on the canvas to test its resistance.
Expected result: the artwork rests on fully engaged fasteners, after the planned time. No fastener edge lifts and the frame is not forced against the wall.
For an installation carried out in 2026, keep the packaging or a photo of the instructions with your information about the artwork. You will thus find the removal method when moving or changing the decor.
Do not add the capacities yourself. Doubling the number of tabs does not automatically double the authorized load. Only a configuration described by the manufacturer provides a valid basis for your installation.
Variant: creating a gallery wall without new holes
A gallery requires planning the whole thing before fixing the first artwork. Décor Imprimé offers printed canvases with varied subjects; separately check the weight and back of each piece, even if their formats seem close.
The choice of personalized canvas dimensions influences the space to reserve around furniture and between artworks in a small home. First reproduce the contours on paper, then arrange these templates on the floor: you will assess the composition without gluing anything to the wall.
- Measure each framed artwork. Do not rely solely on the dimensions of the printed image.
- Choose an alignment. Use a top edge, a central axis, or a main artwork as a common reference.
- Prepare each fastener separately. A fastener suitable for the small canvas is not necessarily suitable for the larger one.
- Check the removal access. A tight composition must not block the tabs of neighboring frames.
Expected result: each piece has its compatible location and fastener. You are not compensating for a bad alignment by peeling off and then re-gluing an adhesive intended for single use.
Troubleshooting: problems to solve before the fall
The frame leans forward
Check the position of the fastener and the depth of the frame. A hook is not suitable if the fastener does not engage properly or if the frame rests unevenly. Put down the artwork and choose an authorized configuration for its back.
The tab peels off the wall
Remove the load immediately. Check the finish compatibility, preparation, applied pressure, and waiting time. Do not reuse a peeled adhesive part when the instructions require its replacement.
The fastener adheres to the paper behind the frame
The protective paper is not necessarily a load-bearing surface. If the adhesive pulls this paper, the frame is no longer held properly. Use only an authorized rigid part or a compatible existing fastener.
The wall is textured or covered with wallpaper
Do not try to fill the gaps with layers of adhesive. Look for a method explicitly compatible with this finish; failing that, use a verified existing support or a stable location on a piece of furniture.
The paint comes with the fastener
Stop the removal and support the artwork if it is still hanging. Follow the manufacturer's exact procedure, without pulling the fastener toward you. If the tab is broken or inaccessible, ask for the method suitable for this situation.
Adapting your installation to upcoming changes
Before ordering a printed canvas, ask how it is presented: print intended for framing, mounted canvas, or another configuration. Also check the exterior dimensions and the information available on the back; these details determine the hanging possibilities.
To clarify the presentation of a Décor Imprimé artwork, use the contact page. Ask a precise question about the assembly rather than simply asking if the canvas is "easy to install".
Keep a sheet with the total weight, the fastener type, the restrictions, and the removal procedure. During a frame change in 2026, start the verification again: the weight and the support surface are not necessarily the same anymore.
FAQ
How to hang a canvas without drilling into the wall?
Use frame fasteners whose instructions authorize the total weight, the wall finish, and the back of the artwork. Prepare the surface and follow the complete procedure before hanging the canvas.
Do adhesive tabs damage the paint?
Adhesive tabs can damage the paint, especially if it adheres poorly to the wall or if the removal does not follow the instructions. A removable fastener does not guarantee an intact finish.
Can a fastener be glued directly onto the printed canvas?
Do not glue a fastener directly onto the printed fabric. Use a rigid surface or a fastener intended for hanging, according to the instructions of the chosen system.
How to know the maximum authorized weight?
Check the capacity indicated for the exact fastener configuration. Weigh the artwork with its frame and accessories, then also check the dimension and surface restrictions.
Can a canvas be hung on wallpaper without drilling?
Only use an adhesive fastener on wallpaper if its manufacturer explicitly authorizes this finish. The paper can tear or peel under the load and during removal.
Should I wait before hanging the frame?
Respect the curing time indicated in the fastener instructions. The immediate feeling of adhesion does not replace this instruction.
How do I remove a canvas hung with tabs?
First remove the artwork according to the intended procedure, then peel off each fastener in the direction indicated by the manufacturer. Do not pull the frame toward you and keep the removal areas accessible from the time of installation.
One last tip
Plan for removal before hanging. A perfectly straight canvas that cannot be properly removed is still a poor installation. Before gluing, visually check where your fingers will go to reach each tab: this detail is just as important as the level.