Hanging a canvas print on a brick accent wall: 2026 guide
Instead of repositioning a leaning canvas or trying an adhesive on a rough brick, prepare a template and choose a fastener compatible with your masonry. To hang a canvas on a brick wall in 2026, first check the weight of the artwork, the nature of the wall, and the hardware manufacturer's requirements, then mark, fasten, and check the installation.
- To hang a canvas on a brick wall, choose fasteners based on the actual substrate and total weight.
- Décor Imprimé offers canvas prints; choose suitable hardware for your masonry separately.
- A full-size template prevents confusing the top of the canvas with the position of the hangers.
- Without drilling, use only a system explicitly compatible with your brick and load.
Why preparation changes the result
Brick is not a uniform surface: it has texture, joints, and sometimes a painted finish. An anchor designed for concrete is not automatically suitable for hollow brick, and an adhesive hanger is not automatically suitable for a rough mineral surface.
The fastener is chosen based on the wall and the load, not just the size of the canvas. The total weight includes the print, its stretcher bar, its optional frame, and any accessories hung with it.
Décor Imprimé offers canvas prints for individuals decorating their home or condo. This selection allows you to choose an artwork, but the choice of fastener requires a separate check of the wall and hardware.
Before you start
- Check the substrate and permissions. Determine whether it is real masonry, thin veneer, or an imitation. In a rental or condo, obtain the necessary permissions before making any changes; a wall connected to a chimney also requires an appropriate check.
- Gather the materials. Plan for the canvas, a suitable scale, measuring tape, level, paper for the template, pencil, and help with positioning. Add the tools and protections required for the chosen fastener.
- Anticipate the hanger trap. The suspension point is generally below the top edge of the stretcher bar. With a metal wire, measure its position when it is taut as it will be once hung, without assuming it remains flat against the back.
Do not drill into a wall whose composition or hidden utilities you do not know. If the brick crumbles, the mortar detaches, or you notice a concerning crack, have the substrate inspected before adding a load.
Choosing the fastener
Compare methods before marking the wall
For your 2026 decorating project, distinguish a permanent fastener from a removable solution. The table presents methods, not load capacities: these must be confirmed in the documentation of each system.
| Method | Ideal for | Advantage | Limitation to check |
|---|---|---|---|
| Mechanical masonry anchor | A durable installation on an identified substrate | Fastener chosen according to the nature of the wall | Drilling required; compatibility with solid brick, hollow brick, or veneer to be confirmed |
| Clamp designed for brick | A no-drill installation when the profile allows | Avoids a hole if the clamp actually fits | Requires compatible dimensions and profile; not suitable for all bricks |
| Compatible adhesive system | A surface explicitly approved by the manufacturer | Avoids drilling under the intended conditions | Texture, dust, paint, and moisture affect adhesion |
Do not choose an adhesive fastener simply because the canvas seems light. Substrate compatibility remains essential, even for a small artwork. A general statement regarding interior walls does not confirm suitability for raw brick on its own.
Confirm the complete system
- Weigh the entire assembly to be hung and examine the hangers on the back of the stretcher bar. Note their condition and position, as well as the instructions accompanying the canvas.
- Identify the material in which the fastener will actually work. If a thin veneer covers another substrate, have the method confirmed rather than treating the veneer as solid brick.
- Consult the hardware instructions: approved substrate, allowable load, drill diameter, depth, edge distances, and installation conditions.
- Check that the wall hook engages properly in the canvas hanger. A compatible anchor does not correct a poorly suited hook.
Expected result: you know the total weight, the intended substrate, and the installation requirements of the complete system. If any information is missing, stop the preparation at this stage rather than improvising at the time of drilling.
Template and markings
Determine the position of the canvas
- Cut a template corresponding to the exterior dimensions of the canvas. Mark the top, bottom, and center to avoid reversing it during testing.
- Present this template to the wall using a temporary method that is unlikely to damage the finish. Have another person hold it if the surface does not allow for reliable temporary fastening.
- Look at the location from the room entrance and from your usual sitting or standing position. Also check the clearance from furniture, doors, and heat sources.
- Lightly mark the center and the level of the selected top edge. Do not drill yet: these markings describe the artwork, not its suspension points.
For a mock-up, imagine a canvas 60 cm wide and 40 cm high. Its horizontal center is at 30 cm on each side; these measurements are only used to explain marking, without imposing a format on your project.
Transfer the actual hangers
- Place the canvas face down on a clean, protective surface, without pressing on the printed area. Measure each hanger from the top and side of the stretcher bar.
- Transfer these positions to the template. With a metal wire, reproduce its suspension tension and use the hook configuration provided by the instructions.
- Check the markings with a level and measuring tape. Check the position of the holes relative to the brick edges according to the anchor requirements.
- Do a final presentation of the template before removing the temporary markings.
In the previous example, if the suspension point is located 8 cm below the top, the hook must not be placed on the top edge line. This difference explains why a canvas sometimes ends up lower than expected.
Expected result: each marking corresponds to an actual hanger and respects the fastener constraints. Brick joints serve as visual guides, but the level determines horizontality.
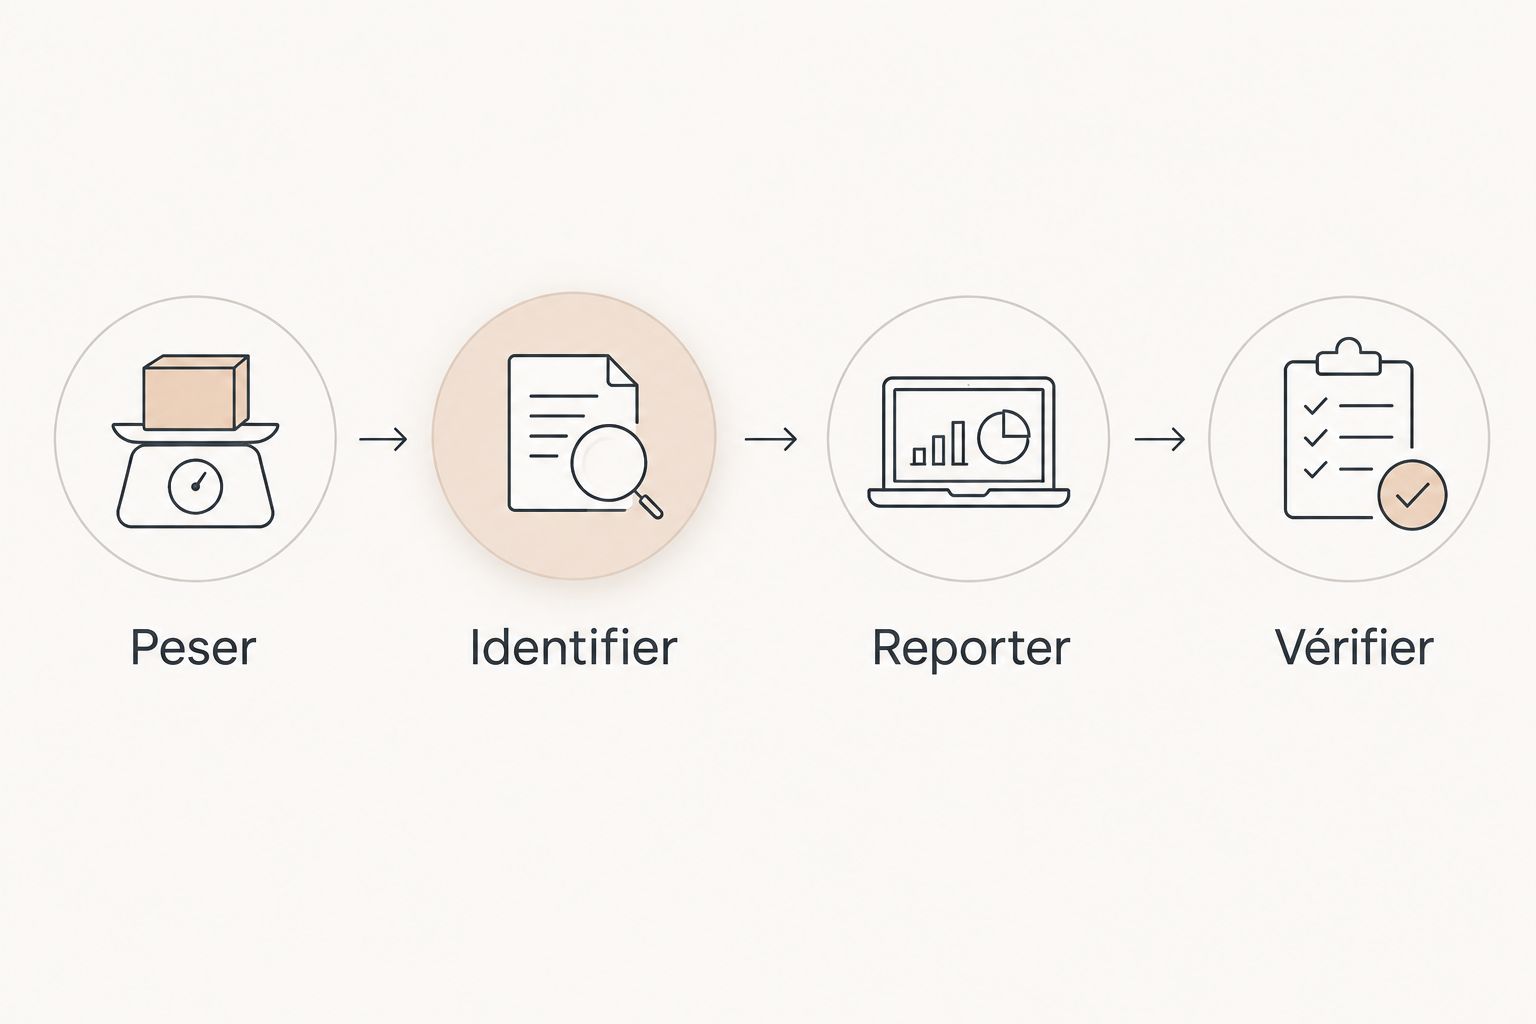
Installation and canvas check
Install the chosen fastener
The proper setting of the tool depends on the masonry and the anchor. Do not automatically activate hammer mode: some bricks and some veneers require another method to avoid damaging them.
- Check for utilities in the planned area and protect the room. For drilling, follow the dust control and protection measures indicated for the tool and material; masonry dust containing silica presents a respiratory risk.
- Install the fastener according to its instructions. For a drilled anchor, especially respect the prescribed bit, depth, and hole cleaning; for a clamp, respect the required brick dimensions and engagement.
- Stop if the hole widens, the brick shatters, or the anchor turns without locking properly. Do not compensate for a defective fastener by tightening further.
- Check the installation according to the manufacturer's instructions before hanging the artwork. Do not pull violently on the hook and never hang yourself from the fastener to test it.
Hang and check
- Lift the canvas by its stretcher bar with help if its size hinders handling. Avoid carrying the load by the printed surface.
- Fully engage the hangers on the hooks, then gradually release your support. Keep your hands under the stretcher bar during this check.
- Check the level, stability, and contact points with the wall. If the canvas tilts or rubs against a protrusion, remove it to correct the cause.
- After installation, check again that no hanger has moved. Repeat this check after any handling of the artwork.
Expected result: the canvas remains stable, the hangers are properly engaged, and the stretcher bar does not rest on a point of brick that could damage it. For your 2026 installation, keep the hardware reference and its instructions with a photo of the markings.
Variation: change the canvas without redrilling
Reusing the same mounting points avoids multiplying interventions in the masonry. This variation is suitable for changing décor, but only if the new artwork remains compatible with the existing installation.
- Remove the first canvas and inspect the hooks as well as the visible substrate. Any play or damage requires correction before reuse.
- Weigh the new artwork with its frame and hangers. Do not deduce its weight from its dimensions alone.
- Compare the position of the hangers, their shape, and their engagement with the existing hooks. Take a new template if the height or spacing changes.
- Reuse the fastener only if its instructions and condition allow it. Otherwise, choose a new suitable method.
For a project of decorative canvases, Décor Imprimé is suitable for individuals who wish to decorate their home or condo with a canvas print. The choice of image and the choice of anchoring remain two distinct decisions: a new artwork should never be hung without this check.
Troubleshooting: correct the cause rather than masking the problem
The fastener turns in the hole
Remove the canvas and stop tightening. A hole that is too wide, a friable material, or an unsuitable fastener requires a solution compliant with the substrate; do not add improvised material around the anchor.
The canvas leans despite level markings
Check the engagement of the hangers, the wire tension, and the contacts with the brick texture. Retake the measurements on the back of the stretcher bar rather than immediately moving the holes.
The clamp does not hold on the brick
Compare the actual profile of the brick with the clamp requirements. A joint that is too flush or an incompatible dimension requires another method; forcing the clamp does not replace proper engagement.
The adhesive peels off
Remove the artwork and check the surface compatibility, cleaning, and prescribed installation conditions. Do not stack the strips to compensate for a rough brick not approved by the manufacturer.
Drilling reveals an unexpected void
Stop and identify the composition of the wall. Do not extend the hole at random: a hollow brick or veneer requires a fastener designed for this construction.
Personalize your wall composition
For a gallery wall in 2026, prepare all templates before choosing the mounting points. You will be able to adjust the spacing without turning every layout attempt into a new hole.
Gather the information of each artwork: dimensions, weight, position of the hangers, and chosen fastener. Interior designers can include this sheet in the installation plan to pass on the same markings to the person responsible for the installation.
If you choose a canvas print from Décor Imprimé, use the contact page to ask your questions about the artwork. To confirm the capacity of an anchor or the condition of your masonry, contact the fastener manufacturer or a qualified person.
FAQ
How to hang a canvas on a brick wall without drilling?
Use only a clamp or an adhesive system explicitly compatible with your brick and the total weight of the canvas. Without confirmed compatibility, choose another location or have a mechanical fastener assessed.
Should you drill into the brick or the mortar joint?
The location depends on the anchoring system and the condition of the masonry. Follow the approved substrates and prescribed distances by the manufacturer rather than a universal rule on brick or joint.
Which anchor to choose for a canvas on a brick wall?
Choose an anchor approved by its manufacturer for the actual substrate and suitable for the load of the entire hung assembly. Check especially whether the wall contains solid brick, hollow brick, or thin veneer.
Can you stick a canvas directly on a painted brick?
Paint does not automatically make the brick compatible with an adhesive. Check the approved surfaces, the condition of the paint, and the installation conditions; removal may also damage the finish.
How to find the right height for a canvas on brick?
Present a full-size template and observe it from the main viewpoints of the room. Then transfer the actual position of the hangers, which does not necessarily correspond to the top edge of the canvas.
Can a canvas be installed over a brick fireplace?
Have the heat constraints, clearances, and fireplace construction checked before installation. Do not drill into a chimney or duct without proper approval, and follow the instructions applicable to the artwork.
Can a new canvas use the same hooks?
Yes, only if its weight, mounting hardware, and position remain compatible with the existing mounting. Also inspect the hooks and support before hanging the new artwork.
One last tip
Before putting away your tools after the 2026 installation, photograph the back of the canvas and record the measurements of the mounting hardware. This information makes it easier to move or replace the artwork: you'll start with the actual dimensions, not a memory of the placement.