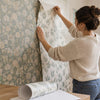
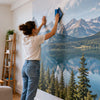
Peel-and-stick wallpaper over wood paneling: 2026 workflow
Rather than sticking peel-and-stick wallpaper directly onto paneling and having its grooves reappear, prepare a smooth, stable surface compatible with the adhesive before installation. This 2026 guide explains how to inspect the wood panel, fill in hollows, and verify adhesion without confusing a removable covering with a reversible renovation.
- Peel-and-stick wallpaper on paneling requires a smooth, clean, dry surface compatible with the adhesive.
- Décor Imprimé offers custom murals made in Quebec; substrate compatibility still needs to be verified.
- Paneling grooves do not disappear under a mural: correct them before installation.
- When renting, obtain permission before sanding, applying filler, or painting the panels.
Why preparation changes the result
Peel-and-stick wallpaper covers the paneling; it does not replace leveling work. The adhesive needs consistent contact with the substrate. A groove leaves an unsupported area, while a peeling finish compromises the covering's adhesion.
Décor Imprimé serves homeowners looking for a custom mural made in Quebec. For a paneling project in 2026, choosing the pattern comes after checking the wall: no design can turn an unstable panel into a suitable substrate.
Distinguish two objectives as well. Covering panels to change the decor is not the same as preserving their original finish. Sanding, filler, and primer modify the substrate, even if the wallpaper is later removed.
Before you start
- Check permissions and guidelines. When renting, obtain the owner's approval before any permanent preparation. Review the instructions for the wallpaper, filler, and primer you plan to use.
- Gather the appropriate materials. Plan for a portable light, a straightedge, a level, a tape measure, cloths, the prescribed installation tools, and a sample of the chosen covering. Add the preparation products only after identifying the substrate.
- Spot the faux wood trap. A wood-patterned panel is not necessarily solid wood: veneer, composite panel, and melamine surface require different preparations. Do not automatically apply the same sanding method and primer everywhere.
If the material remains uncertain, stop before starting the work. A photo shows the texture, but it is not always enough to identify a finish or confirm its compatibility with an adhesive.
Paneling inspection
Determine if the wall can receive the covering
- Identify the substrate. Examine an accessible edge, an existing cut, or the panel documentation. Distinguish the panel material from its finish: painted wood, varnished wood, and decorative surfaces do not offer the same contact with the adhesive.
- Check stability. Gently press near the joints and fasteners. Have loose panels corrected before masking their seams.
- Inspect the condition of the wall. Look for signs of moisture, swelling, friable surfaces, and peeling finishes. Treat the cause of the problem rather than hiding it.
- Assess the texture. Place a straightedge across the grooves and light the wall from the side. Spot the hollows, but also protruding joints and fastener heads.
Expected result: you know the material, its finish, and the defects to correct. A damp, degraded, or loose wall is not ready to receive a mural.
Choose the preparation path
The right path depends on the substrate, not just the desired appearance. Here are the advantages and limitations of the main preparation options.
| Path | Ideal for | Advantage | Limitation |
|---|---|---|---|
| Installation on a validated existing finish | Panels already smooth and stable | Avoids unnecessary work | Requires confirmed compatibility and a successful test |
| Groove correction and complete preparation | Stable paneling with hollows | Allows for a continuous surface | Permanently modifies the panels |
| Creation of a new smooth substrate | Paneling with an inadequate surface | Separates the decorative covering from the problematic finish | Requires additional work and checks |
Do not choose direct installation simply to avoid filler. It is only suitable for a truly smooth substrate accepted by the covering's instructions. If you want to keep the grooves visible, first confirm that this application is permitted; do not force the mural into the hollows to improvise a molded effect.
Substrate preparation
Obtain a continuous surface
- Clean. Use a method compatible with the existing finish. Remove dust and contaminants, then eliminate cleaning residues according to the instructions of the product used.
- Correct. Stabilize the panels if necessary. Fill the grooves and defects with a product explicitly compatible with the substrate and the upcoming finish.
- Level. Respect the drying conditions of the filler before the sanding specified by its technical sheet. Vacuum the dust, then check the texture with the straightedge and side lighting.
- Prepare the finish. Apply the primer or paint required by the chosen system. Respect the indicated coverage and curing times before attempting any adhesion test.
Expected result: the wall presents a uniform surface, free of dust or loose material. Running a hand over it helps spot bumps, but does not replace examination under raking light.
Do not sand an unknown old finish without checking the necessary precautions. Also protect outlets and switches according to applicable safety rules; remove decorative plates only after securing the intervention.
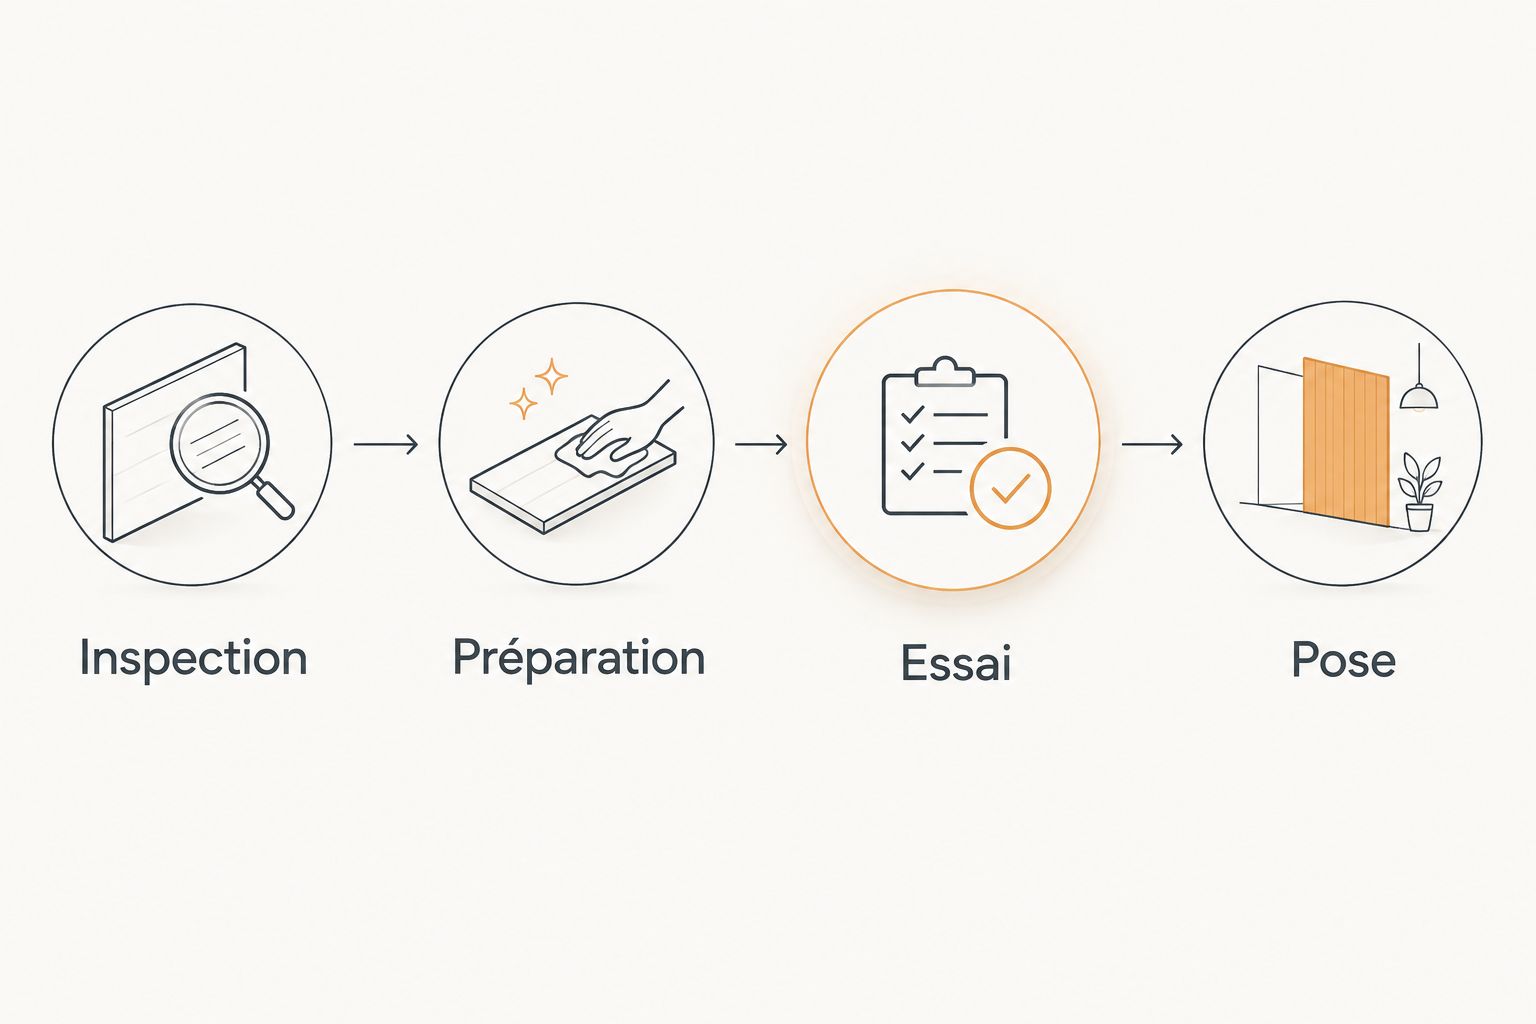
Mural testing and installation
Verify adhesion before covering the wall
- Choose a representative area. Perform the test on a section prepared like the rest of the wall, ideally near an old corrected groove.
- Install the sample. Follow the prescribed method and conditions for the wallpaper. A test on an unprepared section does not validate the finished wall.
- Observe. Check the edges, bubbles, and the reappearance of texture. Respect the observation period recommended by the manufacturer rather than relying on initial contact.
- Assess removal. If the instructions provide for a removal test, also check the condition of the substrate. Adhesion and preservation of the finish are two distinct issues.
Expected result: the sample holds correctly under the prescribed conditions, without peeling or substrate defects. A successful test reduces uncertainty; it does not guarantee the future condition of an old finish.
For a Décor Imprimé project in 2026, describe the material, finish, and planned preparation in your request for information. Ask what surface conditions apply to the chosen covering before ordering your custom mural.
Install panels without following old grooves
- Measure. Record the width at 3 heights and the height at 3 locations. Note the discrepancies and use the prescribed sizing method for ordering; do not add a margin at random.
- Locate. Draw a vertical reference independent of the wall corner and the grooves. The lines of the paneling do not constitute proof of plumbness.
- Present. Check the order of the panels and the orientation of the design before removing the adhesive backing. Also confirm the indicated matching method.
- Apply. Gradually remove the backing and hang according to the instructions. Do not pull on the material to correct a bad alignment.
- Finish. Make the cuts with the recommended tool and a suitable blade in good condition. Check the seams and edges under several lighting angles.
Expected result: the design follows your vertical reference and the seams respect the product instructions. The covering should not be used to hold a loose paneling joint.
Variant: covering already painted paneling
Painted paneling is not automatically ready for peel-and-stick wallpaper. The paint can be stable without being compatible with the adhesive, and a recent layer may seem dry before reaching its required cure.
For this variant of the 2026 path, start by identifying the paint and its condition. Clean, correct defects, then review the covering instructions before deciding if new preparation is necessary. The test must be on the final finish, not on the paint before repair.
Ideal for: stable paneling whose grooves have already been corrected. The advantage is preserving the still-healthy preparations; the limitation is that old poorly adhering paint remains a weak point under the mural.
Conversely, do not immediately cover freshly painted paneling. Respect the applicable paint time and the wallpaper requirements: these two instructions must be compatible.
Troubleshooting: correct the cause before restarting
Grooves remain visible
The substrate is not uniform enough. Determine if the hollow was still present or if the filler retracted before installation. Correct the preparation rather than adding a layer of wallpaper on top.
A busy pattern can make the texture less obvious at certain angles. It neither removes hollows nor areas without contact with the substrate.
The design appears tilted
Check the starting reference, not just the seams. A green laser level projects a reference line on the wall; this line helps align the installation independently of the paneling grooves. Check the device setting before relying on it.
If the panels are already installed, follow the covering repositioning instructions. Stretching the material to meet a line distorts the design instead of correcting the start.
Edges are lifting
Look for a contact or compatibility problem. Inspect residual dust, the finish, and the hollow areas. Do not add glue without manufacturer approval: it changes the installation system and removal conditions.
Bubbles return after hanging
Check the substrate before repeating the process. Distinguish an air pocket from a friable surface or a preparation defect. Do not automatically prick the bubbles; apply only the correction intended for the chosen material.
The paint comes with the sample
The finish does not offer a sufficiently solid substrate for this removal. Stop the project and re-evaluate the preparation. A general promise of easy removal is not enough to protect old or poorly adhering paint.
Adapt the project to your room
For your 2026 project, choose the pattern after validating the wall. A panoramic composition requires thinking about the placement of the subject, while a repeating pattern requires checking its seams. In both cases, doors, windows, and furniture influence the visible portion.
For a homeowner, permanent preparation can be part of a deliberate renovation. For a renter, the same preparation can contradict the goal of restoring the paneling intact. Décor Imprimé offers peel-and-stick wallpaper; this does not make sanding the paneling reversible.
If you are working with an interior designer, send the measurements, photos from the front and under raking light, then the description of the substrate. These elements help separate the decorative choice from the preparatory work.
FAQ
Can peel-and-stick wallpaper be installed on wood paneling?
Yes, if the paneling has a smooth, stable, clean, dry surface compatible with the chosen adhesive. Grooves and inadequate finishes must be treated before installation, then a test must validate the prepared substrate.
Should grooves be filled before installing a peel-and-stick mural?
To achieve a visually smooth result, grooves must be corrected with a compatible preparation. Wallpaper does not fill hollows and does not stabilize loose joints.
Can a mural be stuck on varnished paneling?
Varnished paneling requires a compatibility check before installation. Identify the finish, review the covering instructions, and perform a test on the prepared surface.
Does peel-and-stick wallpaper damage the wood upon removal?
Damage-free removal cannot be guaranteed on unknown wood or finish. The condition of the substrate, its preparation, and the covering's removal instructions determine the precautions to take.
How long should I wait after painting the paneling?
Respect the curing time indicated for the paint as well as the wallpaper requirements. Paint that is dry to the touch is not necessarily ready to receive an adhesive.
Which pattern best hides the grooves in the paneling?
No pattern can replace the correction of the grooves. A design can visually soften certain imperfections, but it does not create a flat surface or continuous contact with the adhesive.
How do I prepare a project for installing Décor Imprimé wallcovering on paneling?
Start by identifying the paneling, its finish, and any necessary work. Then confirm the installation requirements for the chosen wallcovering and inspect the final surface before covering the wall.
One last tip
Photograph your paneling with a lamp pointed at it from the side before choosing a design. This lighting reveals the contours that a photo taken from the front softens. The best time to discover an improperly corrected groove is before installation, when you can still prepare the surface without touching the wallcovering.