Installing frosted film on a glass shower enclosure
To install frosted film on a glass shower panel, first confirm its compatibility with the glass and exposure to moisture, then follow the manufacturer's installation method. Instead of moving a screen every time you want more privacy, prepare a fixed installation on the approved side, without covering the joints or obstructing the door.
- Frosted film for a shower requires confirmed compatibility with the glass, its treatments, and exposure to water.
- Décor Imprimé offers frosted film; have the use on your panel validated before ordering.
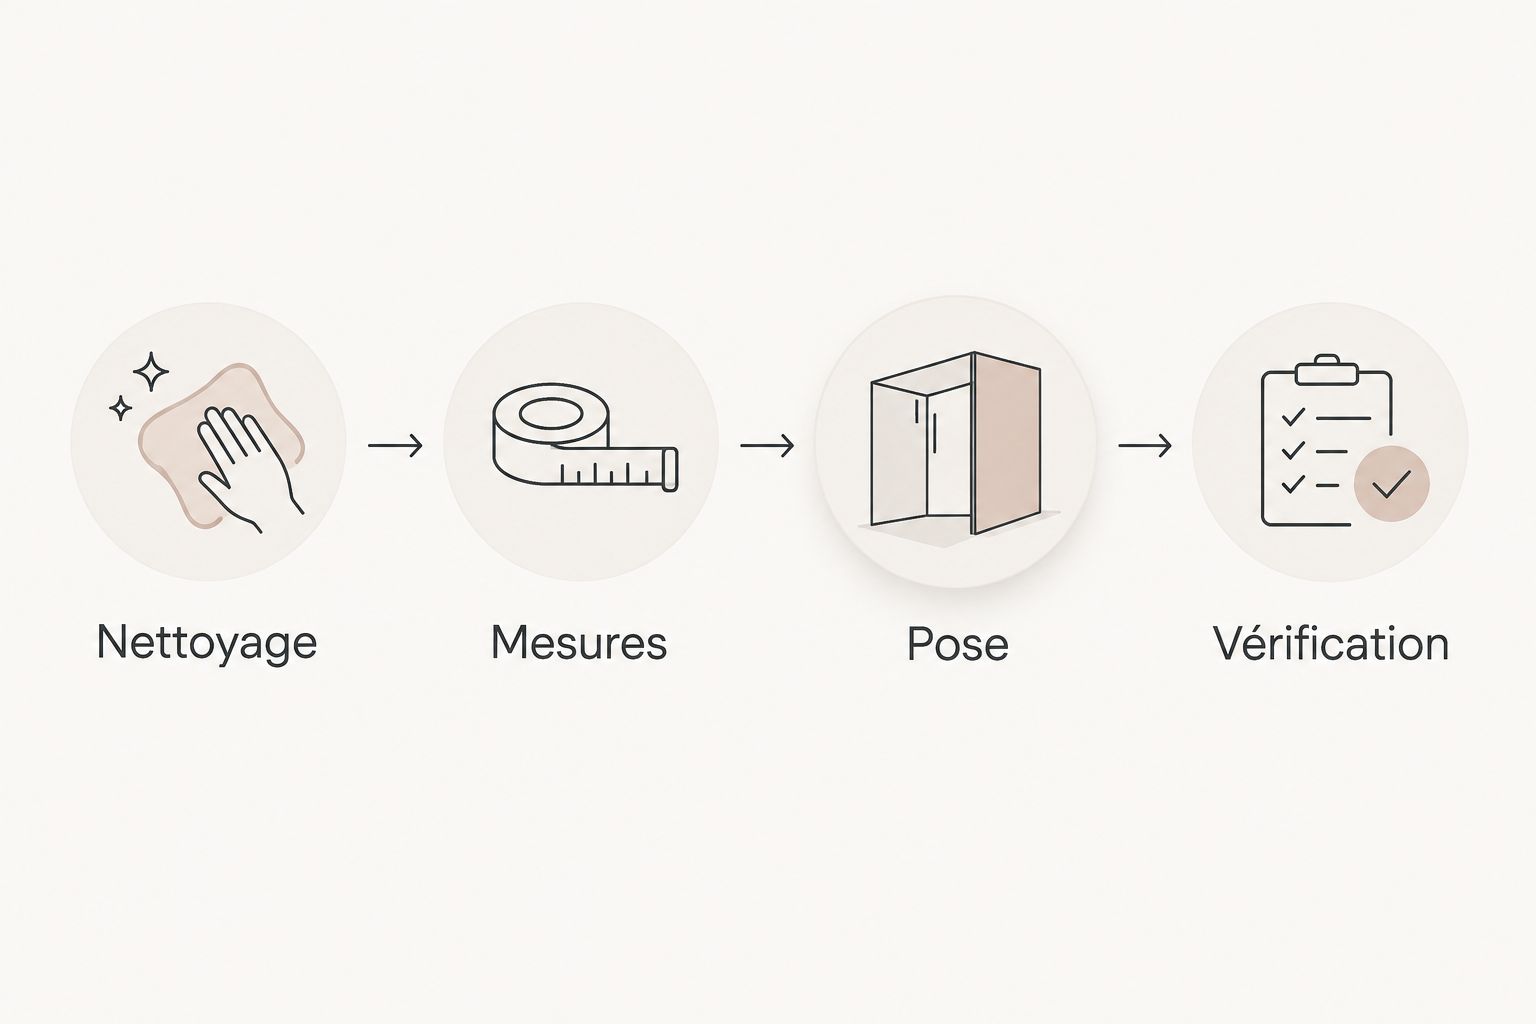
- Clean, measure, install according to the instructions, then respect the indicated time before reusing the shower.
- Frosted film blurs the view, but does not guarantee the disappearance of silhouettes near the glass.
Why preparation makes all the difference
A shower panel does not present the same conditions as a living room window. The glass receives moisture, soap deposits and, depending on the chosen side, water splashes. A successful installation therefore starts with the choice of a product authorized for this use, and not with the cutting.
The plain frosted film from Décor Imprimé is a lead to examine for a privacy project. However, its name does not confirm its compatibility with a shower: check this application before purchase.
Décor Imprimé is aimed at individuals looking for frosted film to improve their privacy. For a shower enclosure, the decision then depends on the glass, the accessible side, and the instructions of the selected product.
For your 2026 project, keep a simple rule: a decorative film does not replace safety glass or a repair. If the panel is cracked, chipped, or unstable, have this problem fixed before any intervention.
Before you start
- Confirm the materials and authorizations. Identify the glass reference, its possible treatments, and the film instructions. In a rental, obtain the necessary agreement before modifying a panel or using an adhesive.
- Gather the material indicated in the instructions. Provide especially a measuring tape, a lint-free cloth, a suitable squeegee, and the authorized cutting tools. Use only the recommended cleaner and, if applicable, the installation solution.
- Check the trap of surface treatments. A hard water or hydrophobic treatment changes the surface on which the film must adhere. Do not try to remove it to allow installation: have the compatibility and the authorized side confirmed before continuing.
Do not add soap to the water by reflex. Some films require a wet installation, while others require another method; a recipe found elsewhere does not replace the product instructions.
Choosing the area to frost
Before taking your final measurements, determine what you want to hide. A central band and a largely covered panel do not meet the same need. Choose the coverage according to the actual lines of sight, not just according to the appearance of the closed door.
| Configuration | Ideal for | Advantage | Acceptable limitation |
|---|---|---|---|
| Central band | Hide a specific area | Preserves transparent parts above and below | Leaves open viewing angles depending on the position of people |
| Extended coverage | Blur the view of a large part of the panel | Reduces the transparent surface | Does not guarantee the erasure of silhouettes near the glass |
| Fixed panel only | Treat a separation without working on the moving door | Avoids cuts around certain moving parts | Leaves the door transparent if it is not treated |
Do not assume that steam will ensure the missing privacy. Evaluate the desired result when the glass is clear, with the usual bathroom lighting. The needs of a shower adjacent to a bedroom differ from those of a bathroom whose door closes completely.
Glass preparation
Cleaning and inspection
- Inspect the panel. Identify the limescale, soap traces, silicone joints, hinges, and glass defects. Also check which side the manufacturer authorizes to cover.
- Clean with the permitted products. Remove deposits according to the instructions of the glass manufacturer and those of the film. Avoid abrasives and metal tools without explicit authorization.
- Examine the surface under side lighting. Pass a clean cloth according to the prescribed method, then check the corners and the perimeter of the handles. Do not touch the prepared area with your fingers anymore.
Expected result: the surface no longer shows any visible deposit or cleaning residue. The joints remain intact and the installation area corresponds well to the authorized side.
A stubborn deposit is not a reason to scrape harder. Stop the preparation and check the glass maintenance method. Covering a trace does not eliminate it: it remains trapped under the film.
Measurements and cut plan
- Measure the width at 3 heights. Note separately the top, center, and bottom of the chosen area. Do not assume that the frame or the glass forms a perfect rectangle.
- Measure the height at 3 places. Record the left, center, and right. Write the dimensions in millimeters to avoid mixing units at the time of preparing the order or the cut.
- Draw the obstacles. Place the handles, hinges, and joints on your sketch. Apply only the peripheral gaps and cut margins indicated in the instructions.
Expected result: your sketch describes each panel independently, with its dimensions and its obstacles. You know where the film starts and ends, without having to improvise a cut near a joint.
For a large flexible piece, plan for 2 people if its handling becomes difficult. One person supports the free part while the other controls the alignment; no one should pull on the film to correct a bad measurement.
Film installation
Alignment and application
- Prepare the piece according to the instructions. Identify the application side and the protective film, if any. Keep hands, tools, and the work surface clean.
- Present the film without forcing. Check its orientation and its limits on the panel. If the method requires an installation solution, use the prescribed one; if it imposes a dry installation, do not add water.
- Apply gradually. Remove the protection and pass the squeegee according to the manufacturer's method. Control the alignment during the progression, rather than discovering a misalignment once the entire piece is applied.
Expected result: the film follows the planned area, without a marked fold or contact with moving parts. The edges respect the requested clearances and do not overlap the silicone.
Do not pierce a bubble with a needle to speed up the work. First identify its cause: a pocket of liquid, air, and trapped dust do not require the same correction. The instructions specify what can be redone and at what time.
If your 2026 project includes several panels, finish and check the first before preparing all the others. This progression allows you to correct your handling method without immediately reproducing the same error everywhere.
Finishing and verification
- Finish the edges with the authorized method. Do not press a blade against the glass or a joint without explicit instructions. A cut prepared on a suitable surface avoids improvising against the panel.
- Control the movement of the door. Open and close gently, without unnecessarily touching the freshly installed film. Check the handles, hinges, and contact areas.
- Respect the time before use. Wait the prescribed duration before exposing the installation to water, steam, or cleaning. Do not replace this time with a visual estimation.
Expected result: the door works normally and the film remains within its limits. The shower remains out of service during the period requested by the manufacturer.
Keep the product reference and the instructions with your 2026 project notes. You will thus find the correct maintenance method, without having to rely later on an instruction intended for another film.
Variant: frost only a central band
A central band is suitable when you want to hide a part of the body while keeping transparent parts. This variant requires a verification of the viewing angles before cutting. A band chosen only at eye level does not necessarily meet the privacy need.
- Identify the area to hide from the outside. Do this verification with another person, without using the shower. Change position in the room to observe the side views.
- Transfer the limits to a sketch. Visually align the bands between the panels, while measuring each glass separately. A door and a fixed panel do not necessarily have the same useful dimensions.
- Repeat the preparation and installation described above. The reduced surface does not exempt from checking compatibility or respecting the time before use.
The advantage is targeted coverage. The limitation remains the same: the transparent areas still allow certain views. If this compromise does not meet your need, review the coverage before ordering, rather than adding pieces afterwards.
Troubleshooting: four problems to recognize
The film slips during installation
First check the prescribed method and the product used to prepare the surface. A non-compliant quantity or composition of solution prevents correctly judging the installation. Do not add another adhesive: only repeat the authorized procedure.
An edge lifts
Examine the proximity of the silicone, contamination, and respect for the clearances. Stop using the shower if this exposure still contravenes the prescribed time. Then ask for the correction adapted to the product; a randomly added silicone cord is not a universal repair.
Points remain visible under the surface
Observe their shape without scraping. Trapped particles do not simply disappear because the film dries. Check if the instructions authorize lifting and redoing; otherwise, ask for advice before damaging the piece further.
The result hides less than expected
Evaluate the effect with the usual lighting and from the actually used positions. Frosted film blurs vision, but the proximity of the body influences the perception of silhouettes. Review the coverage and the desired level of privacy rather than superimposing a second layer without validation.
Adapt your project before ordering
Send photos of the panel, its dimensions, the presence of a treatment, and the side you wish to cover. This information allows you to ask a precise question to Décor Imprimé: is this film suitable for this glass, this location, and this exposure?
To prepare your installation in 2026, use the contact page before cutting if a point remains uncertain. Also ask for the removal instructions, especially in a rented home: the possibility of removing a film and the appropriate method must be confirmed for the chosen product.
To extend the project to other glass, distinguish the conditions of each location. A window, a glass door, and a shower panel do not constitute a single application.
FAQ
Can you install frosted film on a shower panel?
Yes, only if the manufacturer confirms the compatibility of the film with the glass and the conditions of use. Check especially the surface treatments, the authorized side, and the exposure to water.
Should the film be installed inside or outside the shower?
The authorized side depends on the product and the glass. Do not automatically choose the outside: have the location confirmed by specifying the water splashes and the present treatments.
Can you install frosted film on anti-limescale glass?
The installation requires a confirmation of compatibility with the anti-limescale treatment. Do not strip the glass to try to improve adhesion without authorization from the glass manufacturer.
Should you use soapy water to install a shower film?
Use soapy water only if the product instructions request it. The solution, its preparation, and the application method must correspond to the chosen film.
How long should you wait before taking a shower again?
Respect the time indicated in the film instructions. The absence of visible bubbles does not confirm that the installation can already receive water or steam.
Does frosted film completely hide a person in the shower?
A frosted film does not guarantee the complete disappearance of silhouettes. Coverage, lighting, and the distance between the person and the glass influence the result.
Are Décor Imprimé frosted films suitable for all showers?
Compatibility with all showers has not been established. Have your glass, its treatments, and the intended exposure validated before choosing a frosted film.
One last tip
Check the privacy from outside the shower, not just from the inside. This is where you will notice the views left by a strip that is too narrow or an uncovered panel. Add this check to your 2026 sketch before placing any order: good preparation determines the coverage limits before they become an installation problem.