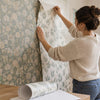
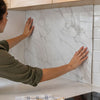
Peel-and-stick wallpaper on a textured wall: complete method
Instead of repeatedly gluing down lifting corners, prepare a smooth surface and conduct a local test before applying peel-and-stick wallpaper to a textured wall. The proper method is to check the texture, correct the surface as needed, and then follow the instructions for the chosen wall covering: adhesive does not replace proper surface preparation.
- Peel-and-stick wallpaper on a textured wall: check the surface before choosing your design.
- Décor Imprimé offers custom murals; a pronounced texture requires wall preparation first.
- A local test checks adhesion, the appearance of the texture, and how the paint behaves when removed.
- Paint that is dry to the touch is not necessarily ready for a wall covering.
Why texture changes the installation
Peel-and-stick wallpaper adheres to the surface it touches. On a bumpy wall, the peaks of the texture provide contact points, while the hollows remain less covered. Pressing harder does not turn this surface into a smooth wall.
Décor Imprimé serves homeowners looking for a custom mural for their home or condo. However, choosing the design comes after checking the wall. For your 2026 project, distinguish the desired decorative result from the technical compatibility of the surface.
Murals from Décor Imprimé allow you to create a personalized decor, but a design neither corrects peeling paint nor significant texture. A busy design can distract the eye from irregularities; it does not create adhesive contact in the hollows.
Before you begin
- Gather the instructions and materials. Review the instructions for the wall covering, paint, and preparation products. Have a tape measure, level, portable light, clean cloths, and the prescribed installation tools ready.
- Check your permissions and the surface. In a rental, obtain the necessary permission before sanding, applying filler, or repainting. Identify repairs, signs of moisture, and areas where the paint is poorly bonded.
- Anticipate the trap of recently painted walls. Dry to the touch and fully cured are not the same. Follow the drying time specified by the paint manufacturer and the requirements of the wall covering before conducting any test.
In an older home, do not sand an unknown coating without checking the risks associated with the existing materials. A suspicious texture requires an assessment before any abrasive work.
Wall assessment
Recognizing texture and choosing the preparation
- Shine a light on the wall from the side rather than from the front. Identify bumps, hollows, drywall joints, and roller marks.
- Gently run your hand over a clean area. Distinguish paint grain from raised decorative texture.
- Examine the areas where the panels will meet. An uneven thickness at this point complicates the joint.
- Check the paint's adhesion. If it chalks, blisters, or peels, stop the decorative preparation and correct the surface.
Expected result: you know whether the wall needs simple cleaning, localized repair, or more extensive smoothing. If you are unsure about the texture, take a photo with raking light and ask for validation before ordering.
| Preparation | Ideal for | Advantage | Limitation |
|---|---|---|---|
| Cleaning and local test | Nearly smooth surface and solid paint | Avoids unnecessary work | Does not remove any texture |
| Localized repair | A few isolated holes or bumps | Corrects targeted defects | Repairs must blend into the wall |
| Wall smoothing | Pronounced texture or widespread texture | Creates a more uniform surface | Requires work and adherence to drying times |
This chart is for choosing a preparation, not for certifying a wall remotely. For an installation planned for 2026, validate the actual surface rather than a term like "slightly textured". This expression does not precisely describe the height or shape of the texture.
Surface preparation
Cleaning, repairs, and finishing
- Remove items that block access to the wall. Turn off the power to the affected circuit before removing the covers from outlets or switches; do not work on electrical components.
- Clean using a method compatible with the paint and the wall covering instructions. Remove dust, grease, and cleaning residue, then allow to dry.
- Repair holes and damaged areas with the appropriate products. Do not cover an active leak, a damp surface, or mold.
- If the texture remains pronounced, have the wall smoothed. Follow the instructions for the selected joint compound, primer, and paint products.
- Dust the area after the work and inspect the wall again with raking light.
Expected result: the surface is clean, dry, stable, and smooth enough to proceed with the test. It has no loose dust or repair edges perceptible by hand.
A coat of paint does not fill deep hollows. Similarly, a primer does not automatically replace a smoothing compound. Each product serves a different function: to repair, even out, or prepare the finish.
Measurements and markings
Take 3 width measurements, at the top, center, and bottom, then 3 height measurements, on the left, center, and right. These 6 measurements help identify a wall that is not perfectly rectangular. Then follow the ordering instructions to determine the dimensions and necessary margin, without adding an arbitrary margin.
Record the dimensions in a single unit, either centimeters or inches. Photograph the entire wall and its obstacles. In your 2026 project file, also keep the name of the paint and the date it was applied: this information will be useful if an adhesion issue arises.
Adhesion test and installation
Local test
- Use a sample of the intended material, if you can obtain one. A different adhesive does not constitute an equivalent test.
- Choose a discreet area that truly represents the wall's texture and paint. A freshly repaired area does not necessarily represent the rest of the surface.
- Apply the sample using the prescribed method and tools. Do not add glue, heat, or any product intended to enhance adhesion without explicit instructions.
- Observe the edges, air pockets, and visible texture during the manufacturer's recommended test period.
- Check the removal behavior according to the material instructions. Stop if the paint lifts.
Expected result: the sample stays in place, you like its appearance, and removal does not reveal any surface weakness. This test provides information about the tested area; it does not guarantee all parts of the wall.
The instructions applicable in 2026 remain those of the product actually received. Do not replace a prescribed test period with a quick check immediately after installation. Initial adhesion is not enough to assess subsequent behavior.
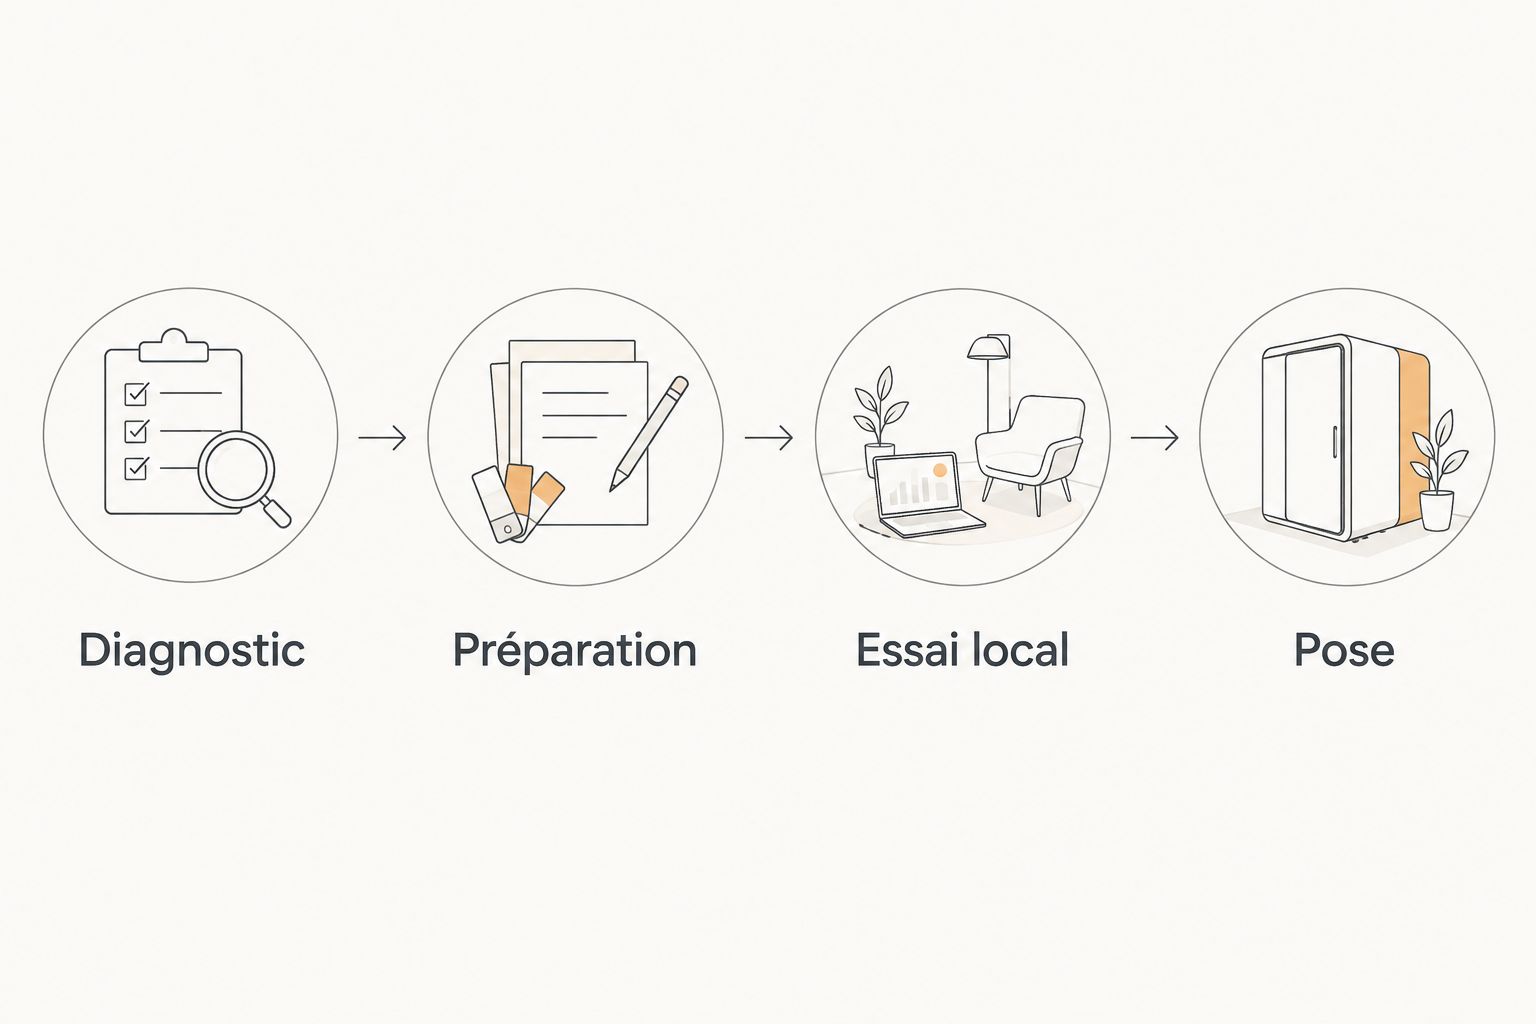
The process follows this order: Assessment, Preparation, Local test, then Installation. If the test fails, return to preparation instead of starting the first panel.
Alignment and panel application
- Check the direction, order, and assembly instructions of the panels before removing their protective covering. Spread them on a clean surface if the instructions allow.
- Mark a vertical line with a level. Do not automatically use the room corner as a reference: it is not necessarily straight.
- Begin application according to the provided instructions. Peel back the protective covering gradually rather than exposing the entire adhesive side.
- Roll out the material using the recommended tool, without stretching it. Follow the indicated jointing method; do not assume the panels must overlap.
- Inspect each joint before continuing. Make cuts carefully without damaging the surface.
Expected result: the panels follow the vertical line, the joints match, and the edges remain in contact with the wall. If a panel lifts over the texture, stop the installation. Additional pressure is not a surface repair.
Alternative: install after complete smoothing
A wall with pronounced texture requires a different sequence: treat the entire surface before resuming the installation process. This alternative is suitable for homeowners prepared to permanently modify their wall; it is less suitable for renters looking for a limited intervention.
- Have the condition of the existing coating and the necessary preparation assessed.
- Have the defects corrected and the surface smoothed with a compatible system.
- Apply the required primer and finish, then follow their drying and curing times.
- Repeat the local test with the chosen wall covering before installing the mural.
The continuity between drywall repair and the finish is as important as filling: a solid repair must also present a uniform, clean surface compatible with the subsequent layers. A still-visible joint compound bump will remain a bump under the wallpaper.
The advantage of smoothing is control over the surface; its limitation is the extent of the work. For a 2026 project, have the complete sequence confirmed before scheduling your installation day. The schedule must follow the products used, not the other way around.
Troubleshooting: four problems to correct at the source
Corners and edges are lifting
Stop repeatedly pressing on the same area. Check for dust, residue, texture, or paint incompatible with the wall covering. If the surface does not provide sufficient contact, repeat its preparation rather than adding an unprescribed adhesive.
Bumps remain visible under the design
The wall covering follows the surface; it does not flatten it. If the bumps are visible during the test, decide before full installation whether this result is acceptable to you. Otherwise, smooth the wall or change the installation surface.
Bubbles appear during installation
Check if you trapped air by removing the protective covering too quickly or by applying the material without progressing steadily. Correct the issue according to the product instructions, without pulling on the panel. Do not automatically prick the bubbles: this action modifies the wall covering and does not eliminate a hollow in the wall.
The paint comes off with the sample
Stop the installation. The surface or its finish does not withstand removal in the tested area. Check the paint's curing, adhesion, and the wall covering recommendations before trying again.
Personalize your project without bypassing preparation
Once the surface is validated, choose the framing based on the furniture, windows, and outlets. For a mural behind a bed or sofa, identify the parts of the design that will remain visible. This check prevents placing the central element behind a piece of furniture.
Décor Imprimé manufactures murals in Quebec and offers custom sizes. This advantage addresses the choice of design and dimensions, but does not eliminate the need to validate the surface. A custom project begins with a compatible wall, not with a promise of universal adhesion.
If the texture leaves you in doubt, send your photos and the paint information to the team via the contact page. Ask a specific question: what preparation is needed for this surface and the intended material? A general photo accompanied by a close-up view of the texture makes the exchange more concrete.
FAQ
Does peel-and-stick wallpaper stick to a textured wall?
Texture can reduce contact between the adhesive and the wall. Check the wall covering requirements and conduct a local test; a pronounced texture requires preparation before installation.
Should the wall be sanded before installing a peel-and-stick mural?
Sanding is not always necessary and is not enough to correct all textures. Assess the texture and existing materials before choosing between cleaning, repair, and smoothing.
Can I apply peel-and-stick wallpaper over recently painted walls?
Wait until the paint meets the prescribed curing time and the wall covering requirements. A surface that is dry to the touch is not proof of compatibility.
Does a dark design hide the wall texture?
A dark design does not correct the texture or lack of adhesive contact. Check the actual appearance with a sample on the wall in question.
Can I add glue if the corners are peeling?
Do not add glue without explicit instructions from the wall covering manufacturer. First, correct the cause of the peeling: dust, residue, paint, or texture.
Is it a good idea in a rental?
Installation first requires a compatible surface and adherence to applicable permissions. A local test does not guarantee damage-free removal from the entire surface, especially if the paint is fragile.
What should I ask Décor Imprimé before ordering?
Ask about the surface requirements, testing method, and installation instructions for the material you are considering. Provide photos showing the texture, the condition of the paint, and the wall dimensions.
One last tip
Test your sample where the light reveals the texture, not just behind a piece of furniture. A surface may look uniform from the front but reveal all its irregularities under side lighting. Check both adhesion and appearance: wallpaper that sticks doesn't necessarily provide the finish you want.